Gear Check: How to Get Your Bike Around the World
One of the biggest challenges on any trip when there’s equipment involved is “how do I get it there?” Exactly one year ago, before starting my cycling trip across Europe, I was asking myself the same question. I assumed at first I would just ship my bike from the US to Portugal, pick it up in-country, and head off from there. I called freight companies and airlines, did a ridiculous amount of research, and here is what I’ve learned over the past year on packaging and shipping bicycles.
Bike Boxes
On big international flights, always package your bike in a box. Not just any box, a standard bike box complete with carrying handles. Your local bike shop (or REI) will have these in stock for you to purchase OR they will package your bike for you. A lot more goes into packing a bike than simply putting it in a box. On my Europe trip, I had my local REI package and box my bike for $100, and it was completely worth it. It was my first bike trip, and I was able to I ask a million questions of the guys and gals working in the bike shop (creepily hanging around the local REI for hours at a time).
There are also ‘bike bags’, which are essentially huge thick plastic bags that fit over a bicycle, but I wouldn’t recommend these for anything but small, local flights where there’s a minimal amount of luggage and you have a good chance of your bike being handled with care.
When I arrived back in the states from the Republic of Georgia, I found that security had opened my carefully packed bike box, unpacked my bike, and thrown it back in the box without any of the padding. Luckily, it wasn’t damaged. All I had to package my bike with in Tbilisi were extra clothes and crappy packaging tape, which made it easy for security to pull it off my bike. There’s no guarantee, but at least with a bike that’s heavily taped and packaged, it won’t make it easy on security to unwrap it and toss it around.
Cost
It is ridiculously cheap to check your bike as oversized luggage. Every airline is a little different in requirements and cost, but essentially, it’s cheap and as long as your bike is in a bike box, you’ll be fine. I flew out on Jet Blu and Royal Moroccan Airways, and it only cost me $50 to check my bike as oversized luggage. Just Google your airline + oversized baggage and you’ll get a list of the equipment and fees.
It is not cheap to ship anything international. Not to mention the nightmare of dealing with customs, and trying to get to that location from the airport while sleep deprived in another country. That said, if you need to ship your bike within Europe or the United States, it will be relatively easy and fairly inexpensive (compared to international freight).
Packing Your Bike
Whether you’re having a bike shop pack your bike or doing it yourself, here’s a list of the main components that need to be disassembled and protected.
The Derailleur. When packing your bike, the most important thing to protect is the derailleur. Do this by wrapping it in soft padding, then taping cardboard around it. I’ve also used half a water bottle (cut the bottle in half, slide it over the derailleur, and tape in place). Wrap this in cardboard as well.
Front Wheel. Take the front wheel off, wrap it in padding, and tape it to the frame of the bike in front of the derailleur as extra protection (after all the below steps are take).
The handlebars. Loosen the hex bolts on the handlebar brackets, then remove. Tape handlebars vertically to the frame of the bike, so the frame will fit in the box. Replace the bracket (now without handlebars) so you’re not missing the hardware when you get to your destination.
Front Forks. Loosen the hex bolt on the handlebar stem, and turn the front forks 180 degrees, so they’re backwards and tucked in closer to the frame. Re-tighten the hex bolt (and remember you’ve down this upon arrival, it’s easy to forget when you’re re-assembling the bike and suddenly the handlebars won’t mount properly).
Seat. Remove the seat, wrap in padding, and tape it to the bike frame. Make sure to mark your seat height on the seat stem.
Pedals. Using your bike tool (or pedal wrench, depending on the bike), remove your pedals and put them in a sealed plastic bag, to be taped to the bike frame later.
*Any additional hardware, camera or device mounts, should be added to the plastic bag with the pedals, and taped to the frame to make sure nothing gets lost. If you’re using an unmarked or pieced-together bike box, make sure to add arrows that say ‘this end up’, ‘do not stack’, and ‘do not lay flat’.
Once the bike is disassembled and packaged, lower the packaged frame into the bike box. Most airlines have a weight requirement of 50 lbs. Stand on a scale, weigh yourself. The weigh yourself on the same scale with the bike box (awkward I know). If your bike is under 50 lbs, stuff a sleeping bag or panniers in the with it for extra protection. On a return trip, add a bottle of wine or vodka and make good use of that space.
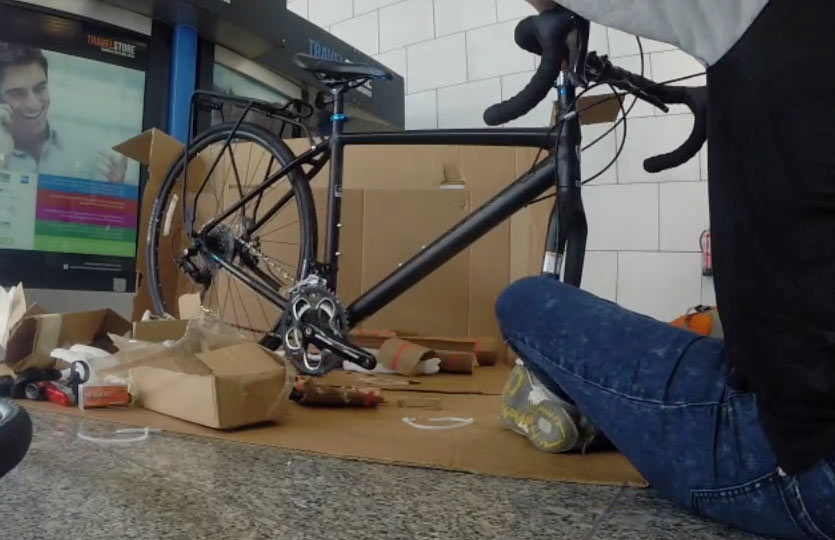
At the Airport
Once you’ve landed, and have found your bike box in the oversized luggage section, put it on a cart and get through security. Once outside, find a quiet spot to unpack and assemble your bike. If you see a security guard, give them a heads up about what you’re doing, and ask if it’s okay to leave your empty bike box propped against the wall. (Just make sure to leave the box open, showing it’s empty.)
Adventure on!